My top Ikea + Kmart Picks to Organise Your Kitchen! Yep, that's the face of…
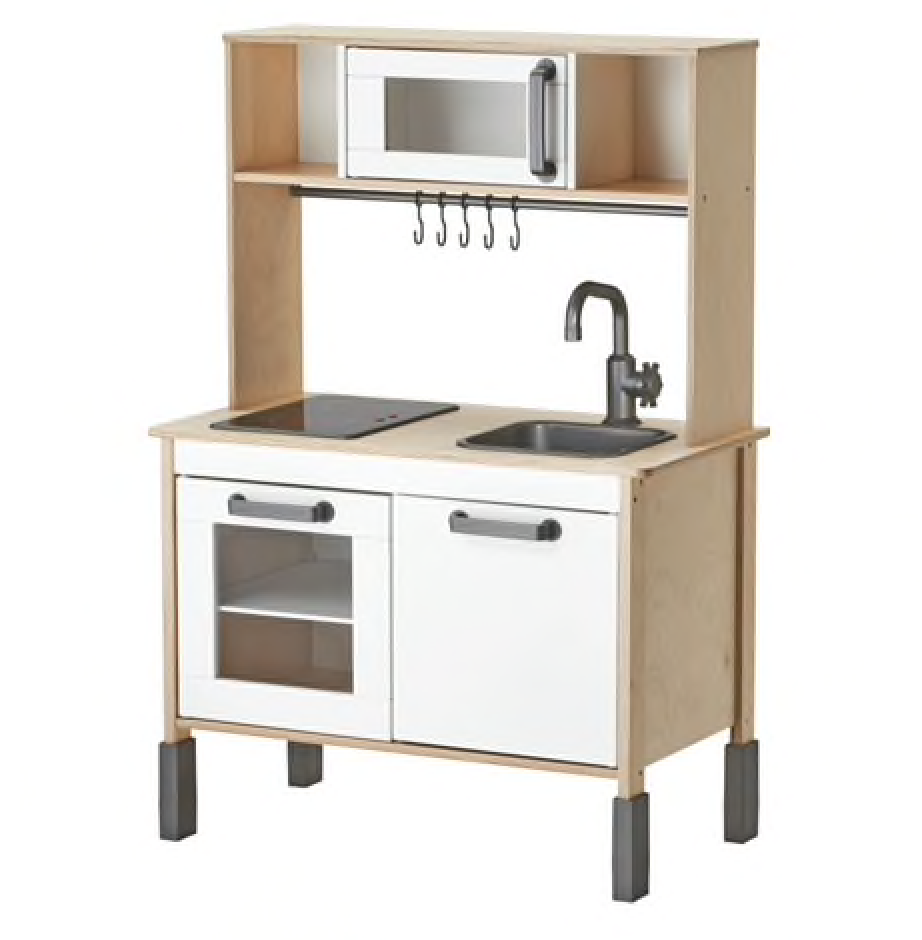
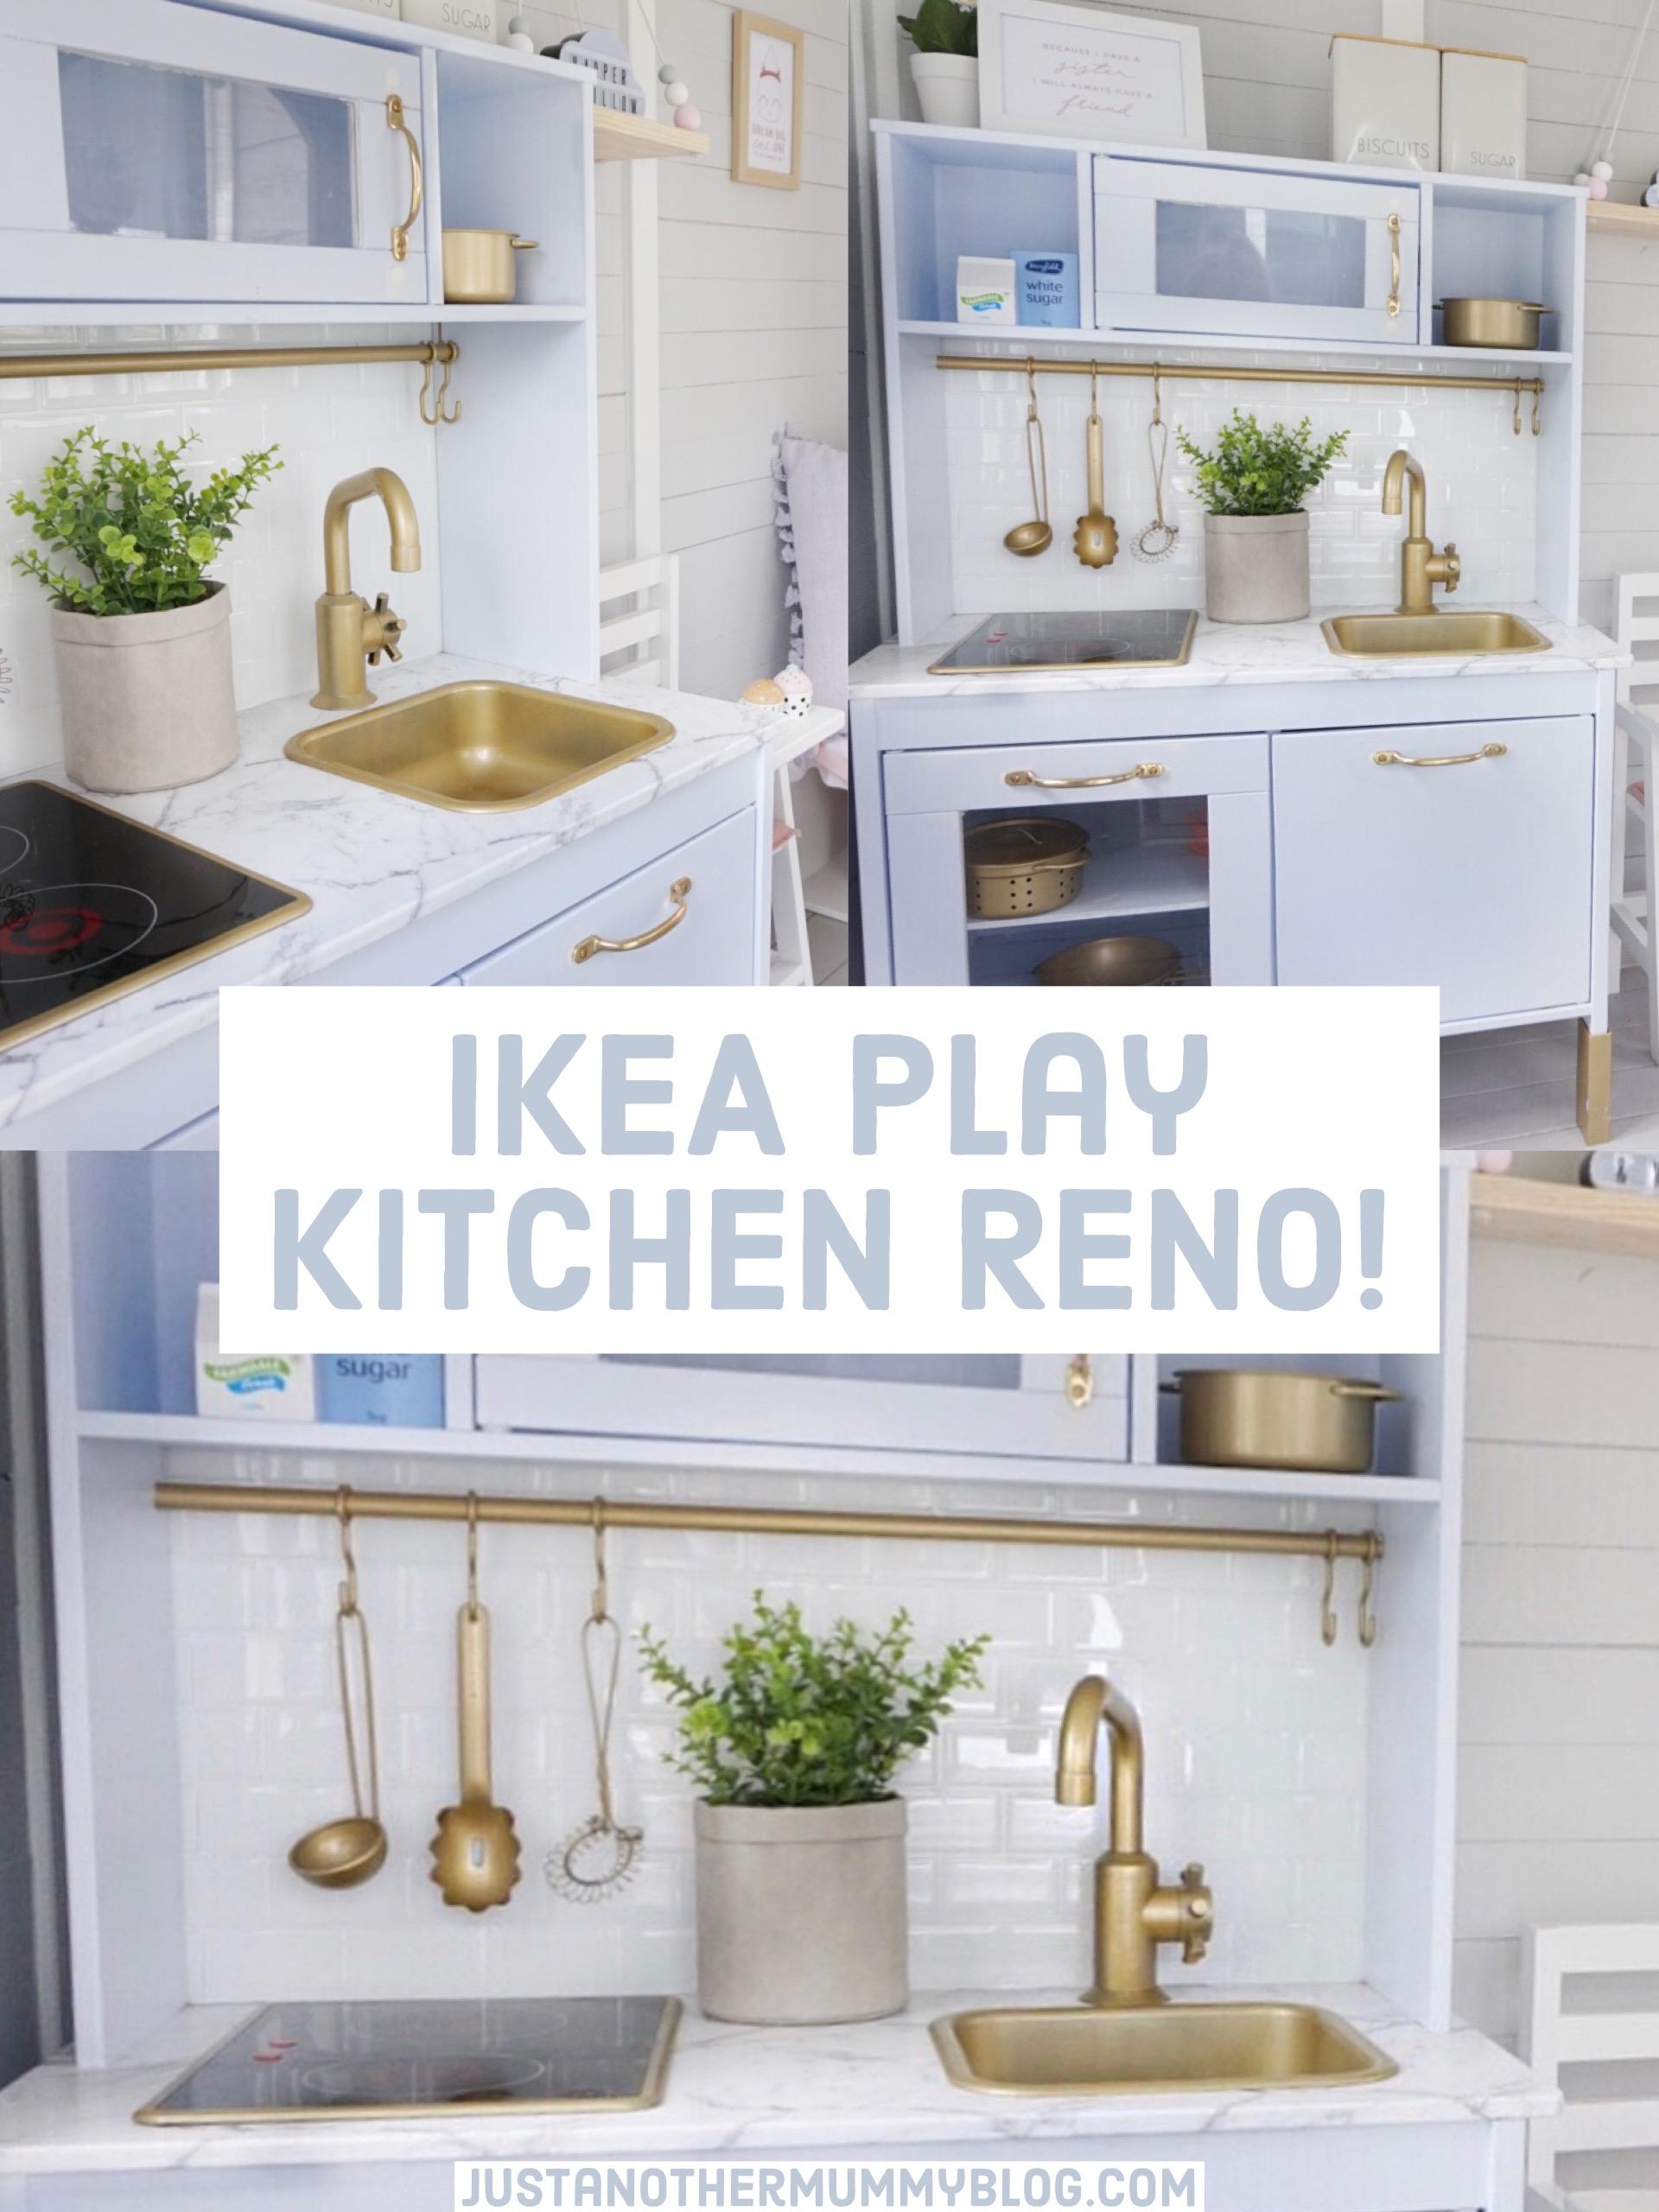 Here is how I renovated the girls IKEA play kitchen! It was actually quite easy to do! The hardest part was deciding on the paint colour? I decided on a powder blue paint, marble bench top, gold handles and added a splash back!
Prepping
Firstly, because the kitchen had already been used for a while, I dissembled it and gave it a good clean! Then coated the areas I was going to paint with a primer. I used the Taubmans 3 in 1 Prep!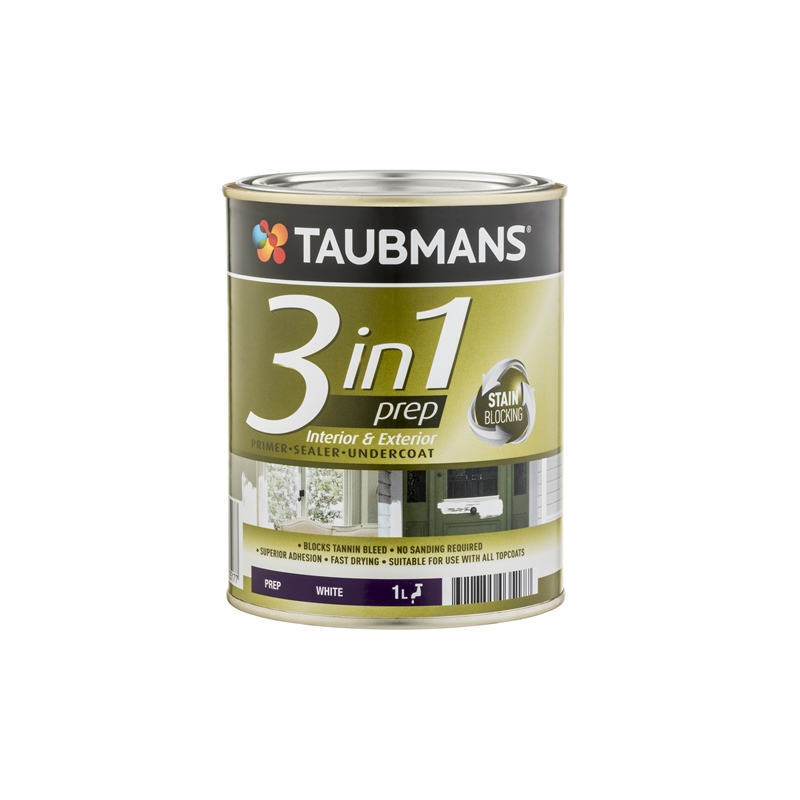 Spraying the Fixtures
After I had primed the kitchen, I sprayed the tap, kitchen legs, cooking utensils, hanging rod and hooks with gold spray paint.
I decided to wanted to replace the handles with some nice ones I got from Bunnings! In order do this I used spackfiller in the previous holes, sanded it and painted over the top. For the two bottom cupboards I bought the 125mm handles and to replace the microwave handle I purchased the 100mm gold Bunnings handle. 
Paint
Then I had to decide on a paint colour! I wanted to go a really beautiful powder blue colour. The kitchen was going inside the cubby house which is grey and pinks, so I wanted to make it a bit different. I decided to go with Taubmans paint in ‘Dusky Morn’. I definitely recommend doing 2-3 coats of this colour as it is a real pastel colour so you want to make sure it is evenly covered.
Benchtop
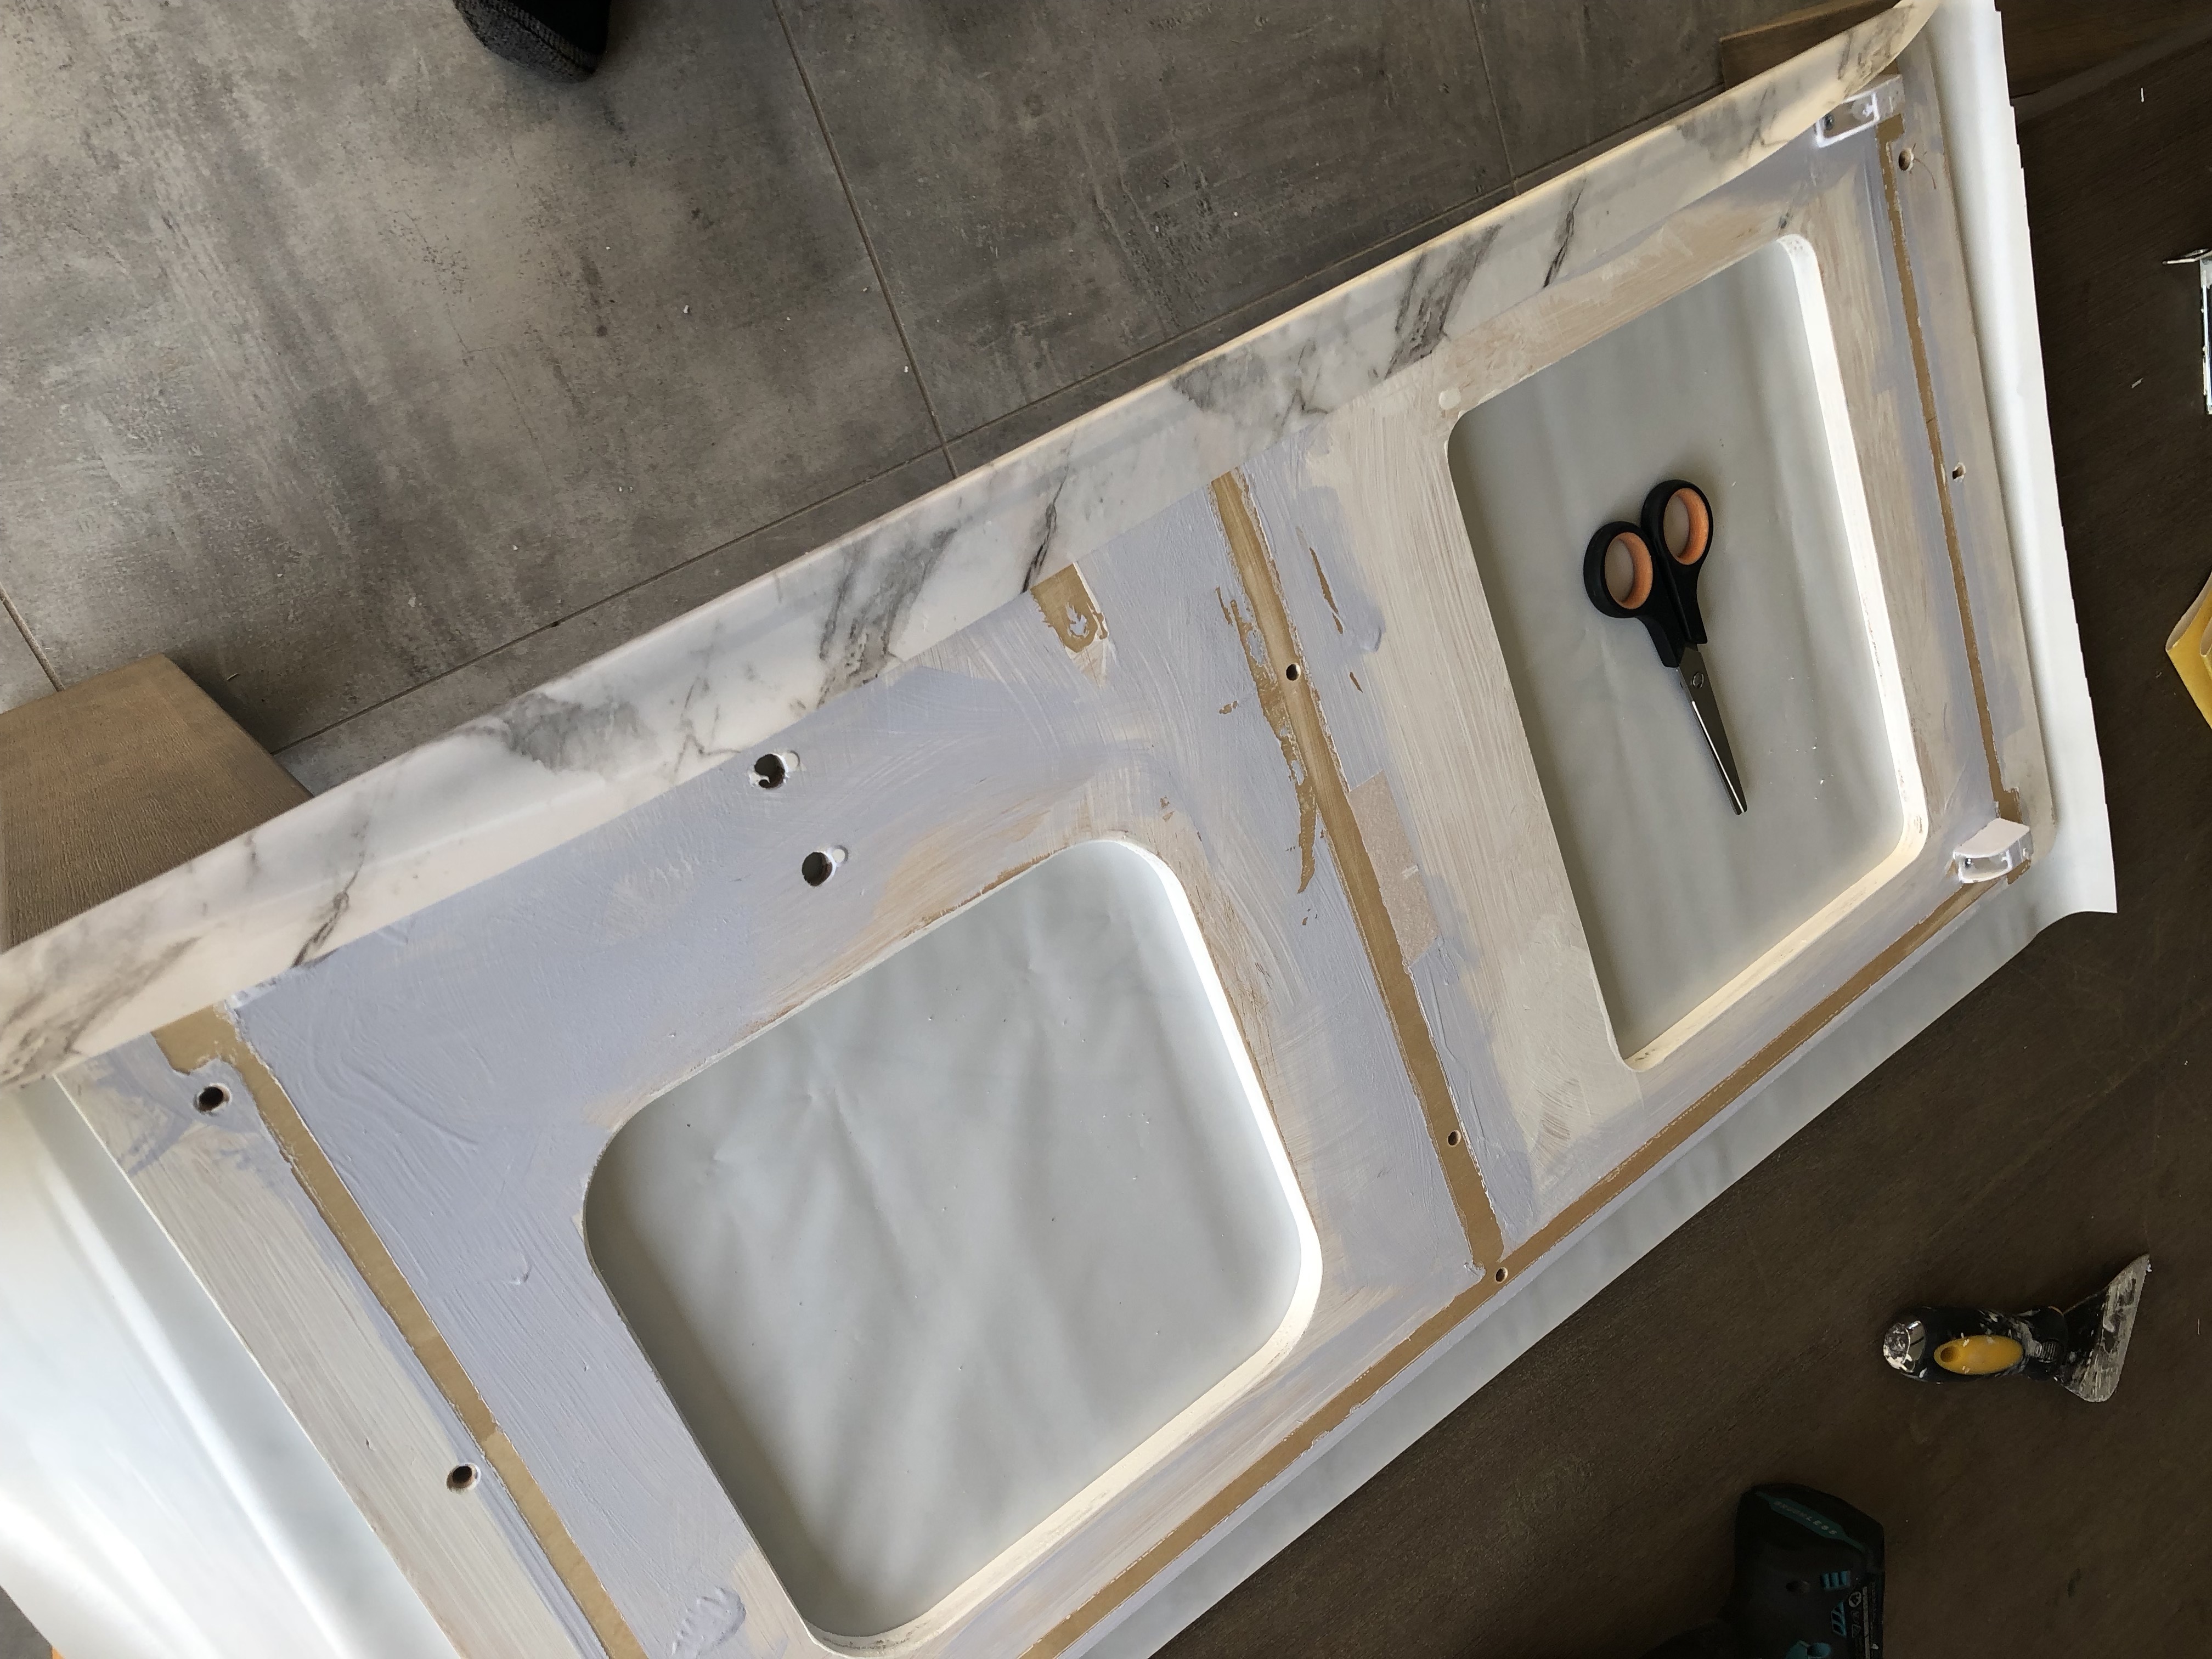
For the bench top I used the Kmart marble vinyl adhesive. To stretch the contact over the curved corners and edges I simply used the heat of a hair dryer to help the vinyl stretch and cover it evenly! If you do this just make sure you don’t hold the hair dryer too close to the contact paper in case it creates holes! Slow and steady!
Adding the Splashback
To add the splash back we just cut some MDF board to size then I decided to go for some plain white subway tiles. I did some research and found these amazing tile decals you simply apply in sheets and they look like actual tiles!
Click here for the decal tiles I used
After that I reassembled and done! I paired it with some cute lightweight fake plants from Kmart and that was it!
BEFORE
AFTER


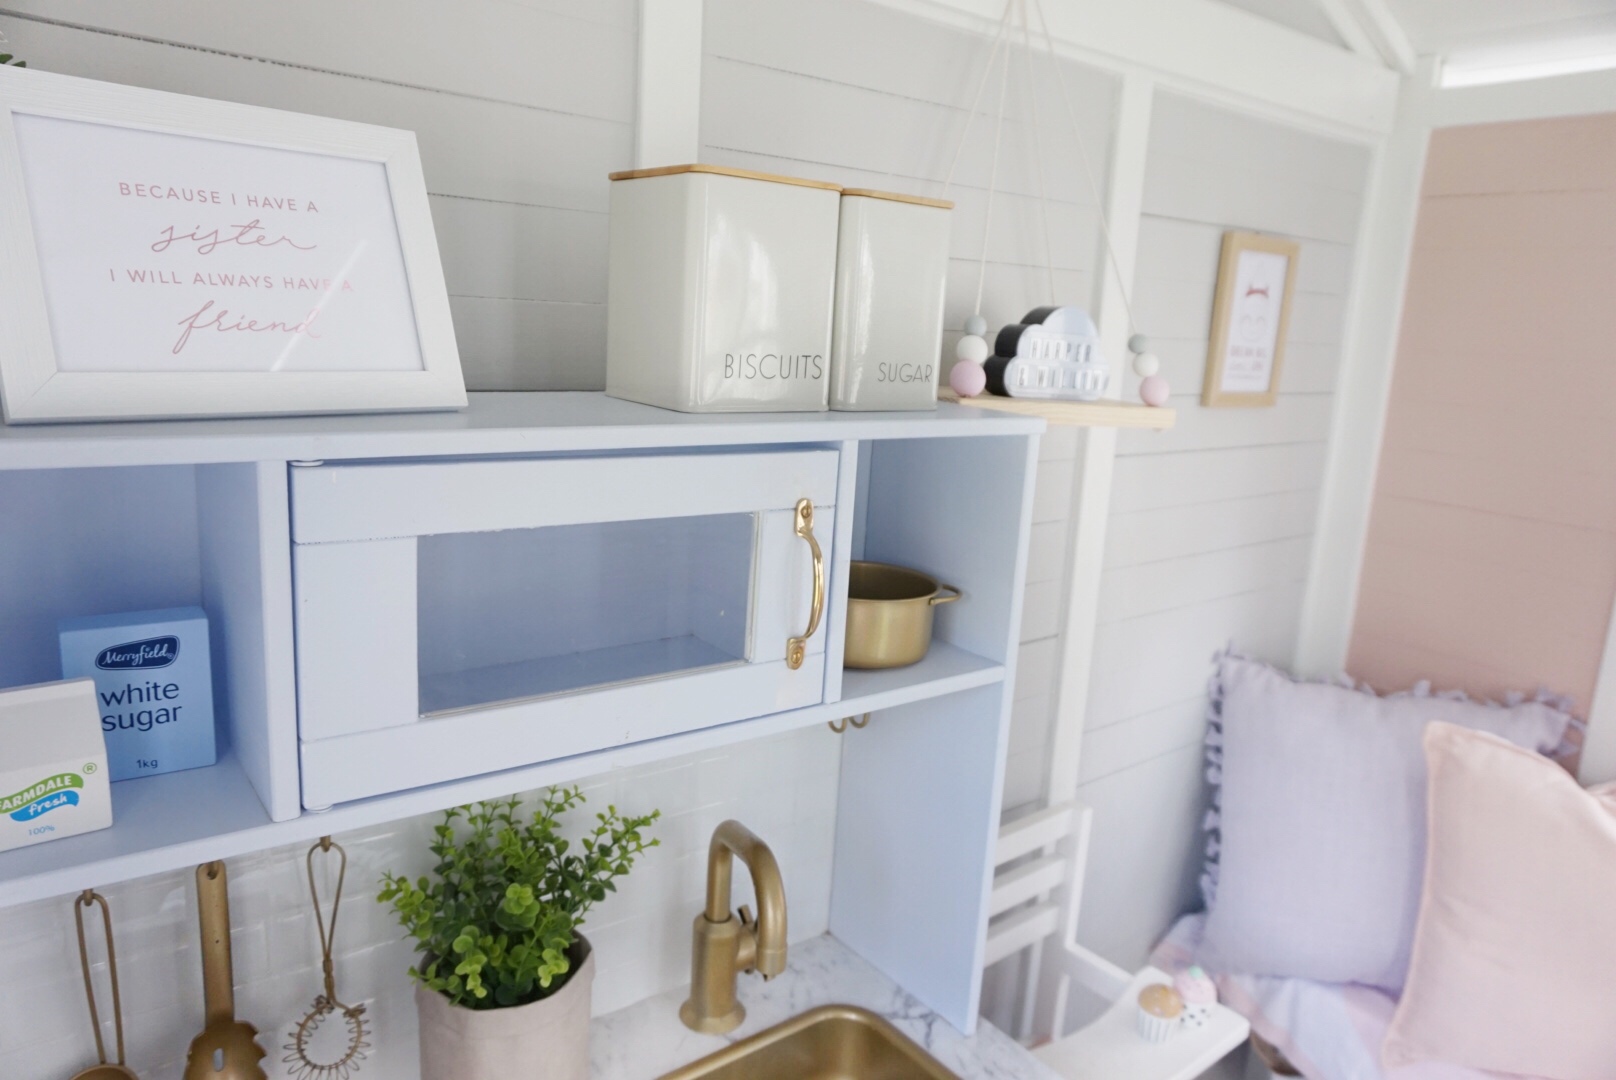 I hope you enjoyed this blog on how I revamped the girls Ikea Play kitchen! Please feel free to leave any questions below and be sure to tag me in your own kitchen hacks!
- 435Shares
